Easy Homemade Sourdough Bread in a Dutch Oven

(mydeliciousmeals.com)
Easy Homemade Sourdough Bread in a Dutch Oven

This is my go-to Dutch oven sourdough bread recipe, and even though I’m not a big bread person, this is the loaf of bread I can never resist. I love the perfect crust it develops and the flavor is just great.

Sourdough is often easier to digest than regular bread because natural fermentation process with wild yeast and lactic acid bacteria helps break down certain compounds and makes nutrients easier for your body to absorb.

There are so many sourdough recipes online, but this one is truly tried and true and consistently produces a delicious sourdough loaf every time.

Be sure to watch the short video, follow my step-by-step instructions and read the tips at the end - they make the process even easier.

It may look long when doing it for the first time, but the good news is that the hands-on work is minimal, and once you fit it into your routine, it hardly takes any time at all.

Ingredients

  • 125 grams active sourdough starter
  • 325 grams water (preferably warm)
  • 500 grams flour (I use Kirkland Signature Organic Unbleached All Purpose Flour, King Arthur bread flour can be used, or your favorite brand, you will need a little more for dusting)
  • 10 grams salt
Yield:
loaf
Prep time:
25 minutes
Cook time:
50 minutes
Total time:
28 hours
Yield: 1 loaf | Prep time: 25 minutes | Cook time: 50 minutes | Total time: 28 hours

Instructions

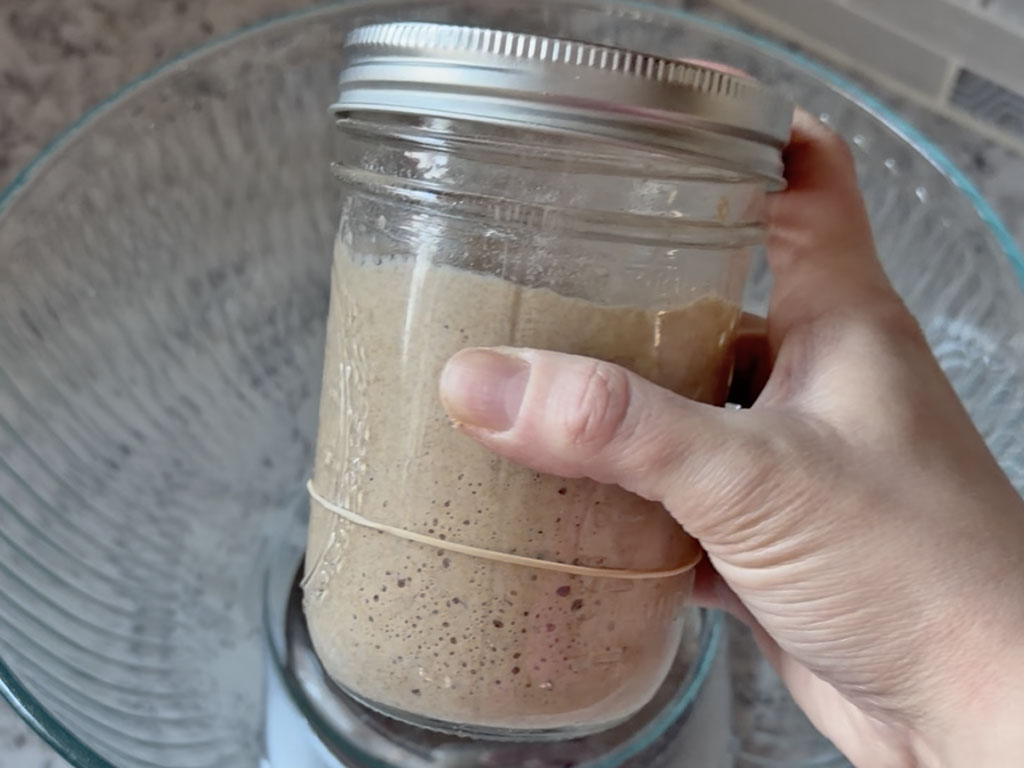
Step 1: Feed the starter (Night Before). 

Feed your starter and leave it at room temperature overnight until active, bubbly, and at least doubled. Place a rubber band around the jar at the starting level so you can easily see how much it has risen.


Sourdough starter in a glass jar with a rubber band marking the starting level, showing the bubbly starter risen well above the band after fermenting overnight.
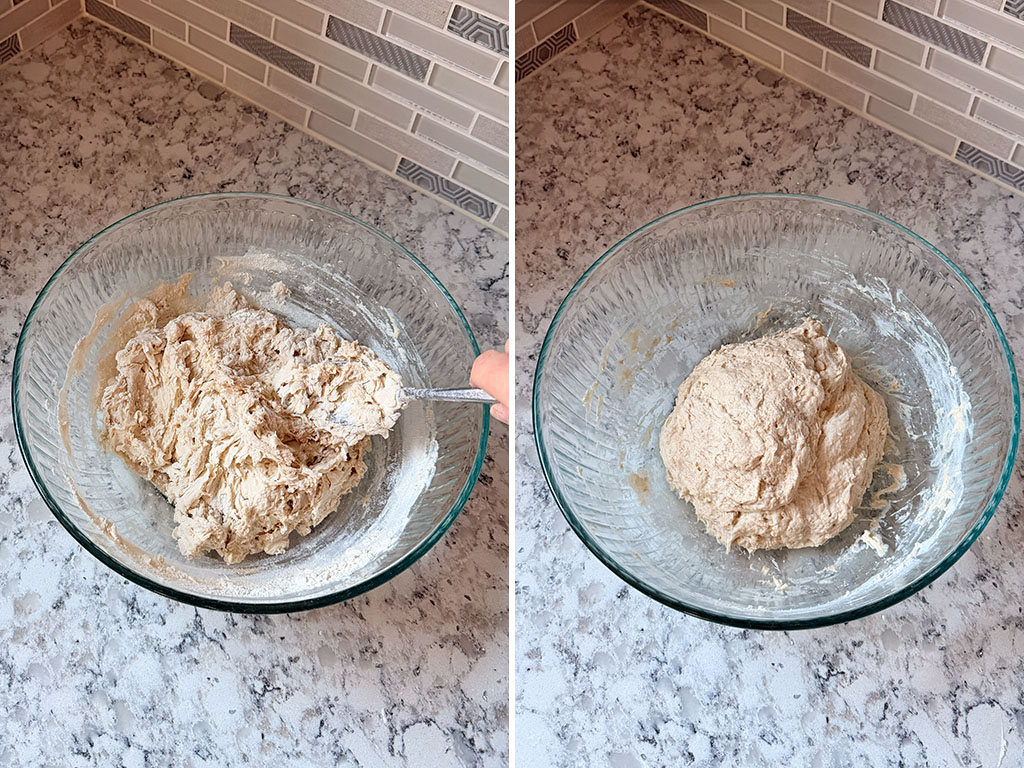
Step 2: Mix the dough (Morning). 

In a large bowl, combine flour, salt, starter, and water. Use a kitchen scale for accurate measuring. Stir with a spoon, then use wet or lightly floured hands to mix until a dough forms and no dry flour remains. You can also mix it in a stand mixer with a dough hook just until combined. Cover with a lid or plastic wrap.


Two-image collage showing dough mixing process: first image with ingredients being stirred with a spoon, second image showing dough after hand mixing.
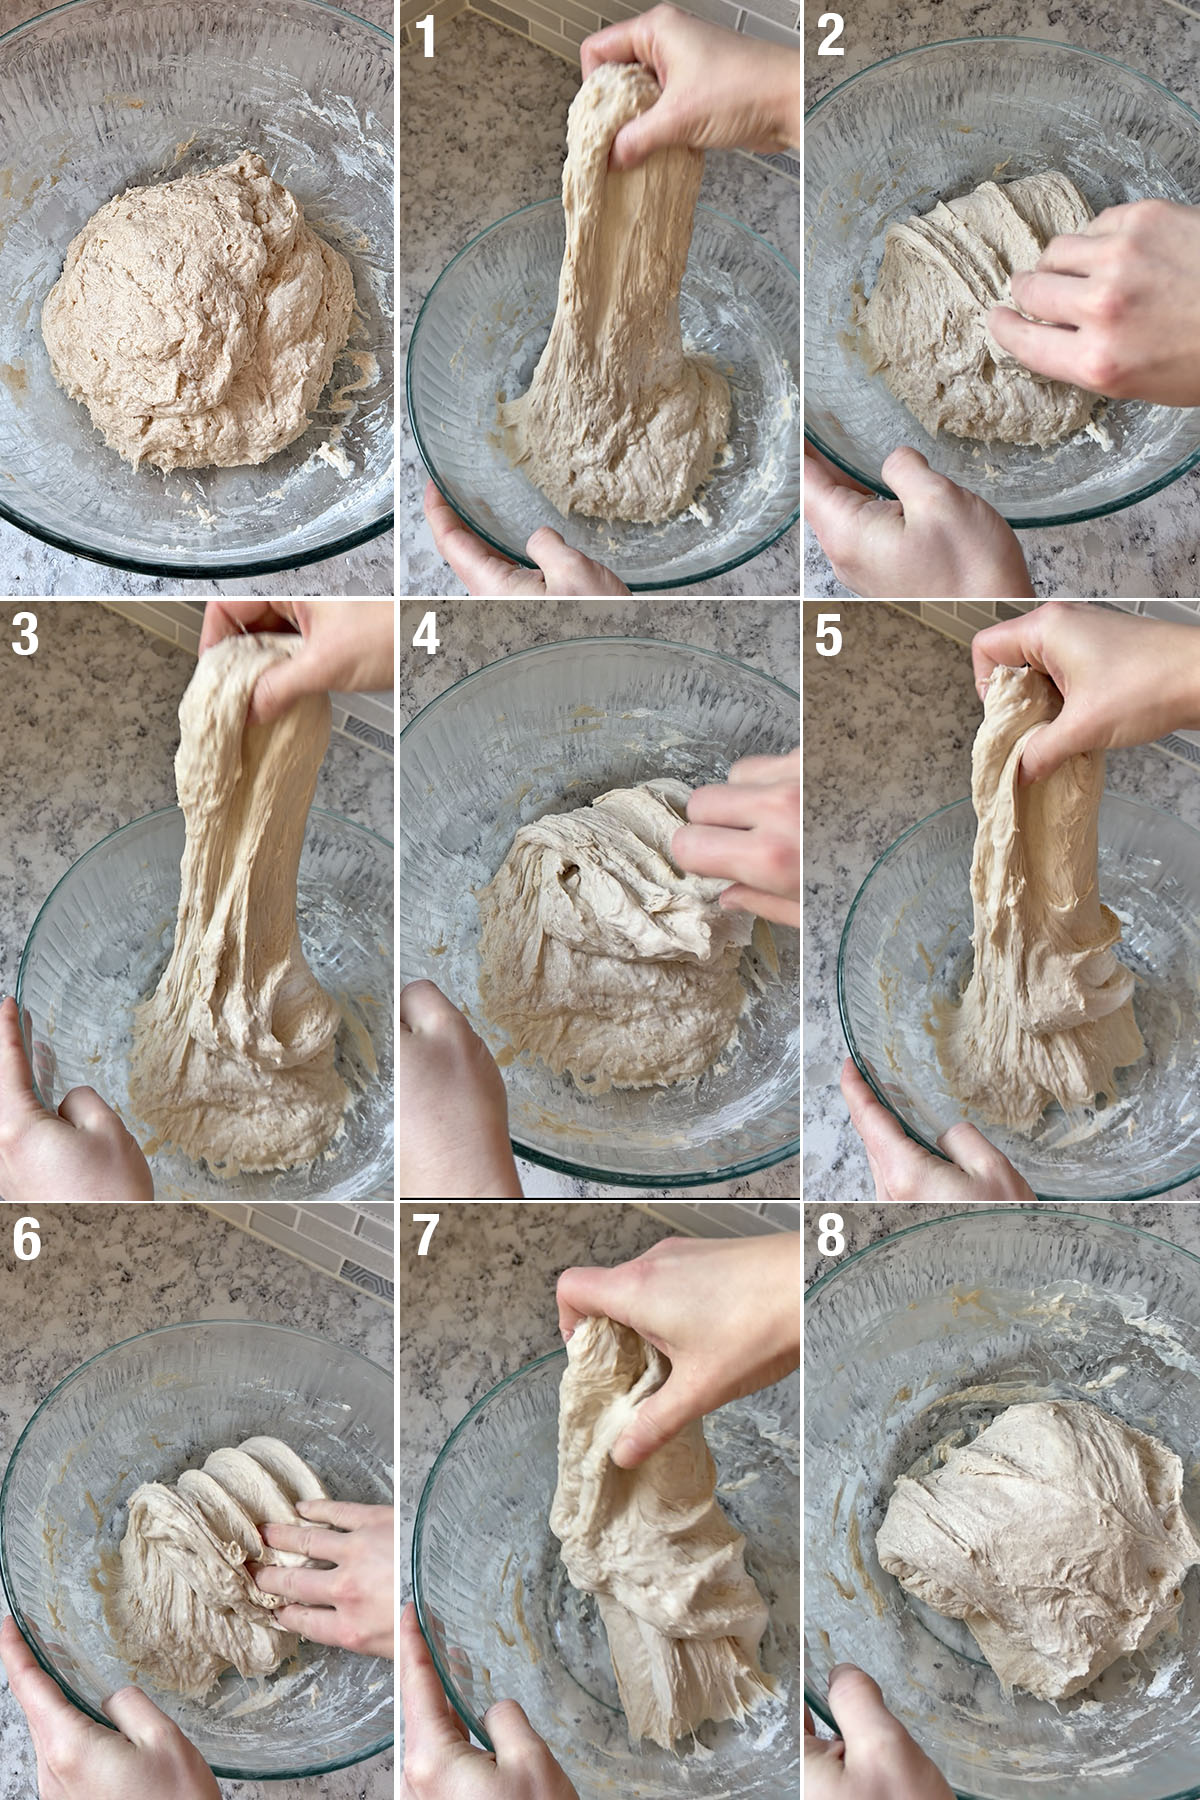
Step 3: Stretch and Folds. (Structure Building)

Do 4 stretch-and-fold rounds, waiting 30 minutes between each round. 


    Timing:

  • Do first round 30 minutes after mixing 

  • Do second round 30 minutes later 

  • Do third round 30 minutes later
  •  
  • Do fourth round 30 minutes later

  • How to do each round: 

    Wet your hand to prevent sticking. Grab one edge of the dough and gently stretch it upward without tearing (shake slightly if needed so it stretches naturally), then fold it over to the opposite side. Rotate the bowl 1/4 turn and repeat on all four sides - this completes one round. Don’t worry if it feels sticky, that’s normal. The initially sticky dough will become smoother, stronger, and less sticky after each round.


    Steps of one stretch-and-fold round: dough being lifted from one side, stretched upward, and folded over onto itself, the process repeated on all four sides to complete the round.
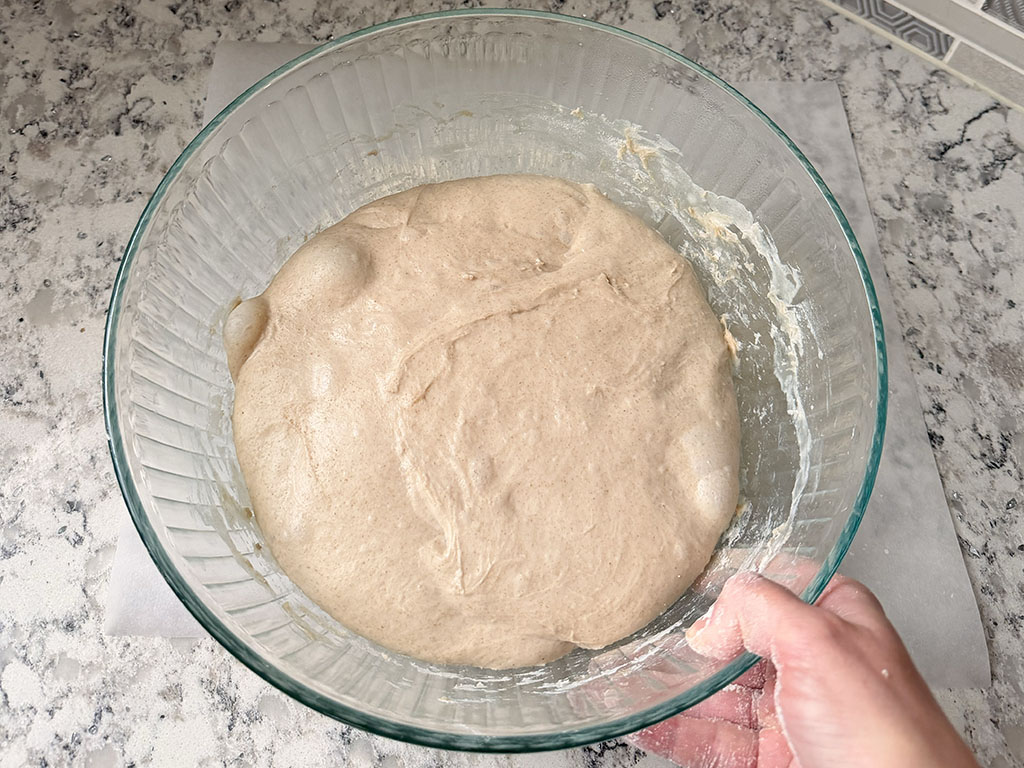
    Step 4: Bulk fermentation (Daytime). 

    After the final fold, cover and let the bread dough ferment at room temperature until evening. It should look airy, slightly domed, and increase in size by at least 50% before moving to the next step.


    Dough in a bowl during bulk fermentation, risen and airy with a slightly domed surface, showing about a 50% increase in size.
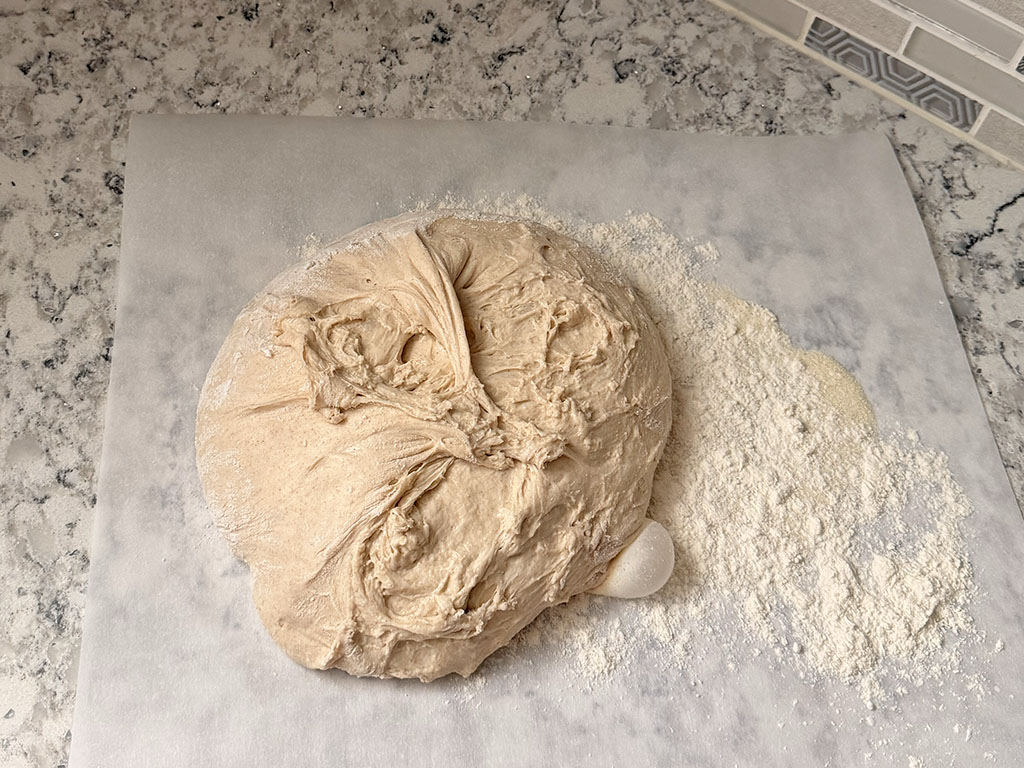
    Step 5: Pre-shape (Evening). 

    Place the dough onto a lightly floured surface.
    Dough placed on a lightly floured surface, ready for pre-shaping after bulk fermentation.
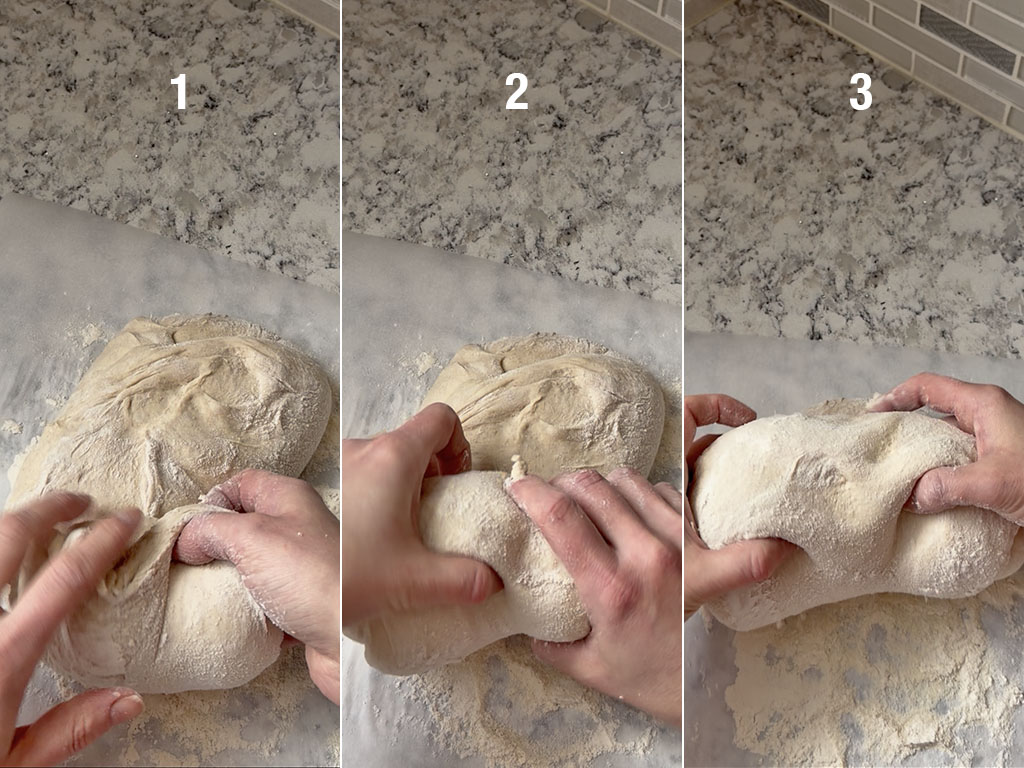
    Gently stretch it into a rectangle. Fold the top third down and the bottom third up to form a loose packet.


    Dough gently stretched into a rectangle on a floured surface, then the top and bottom thirds folded toward the center to form a loose packet.

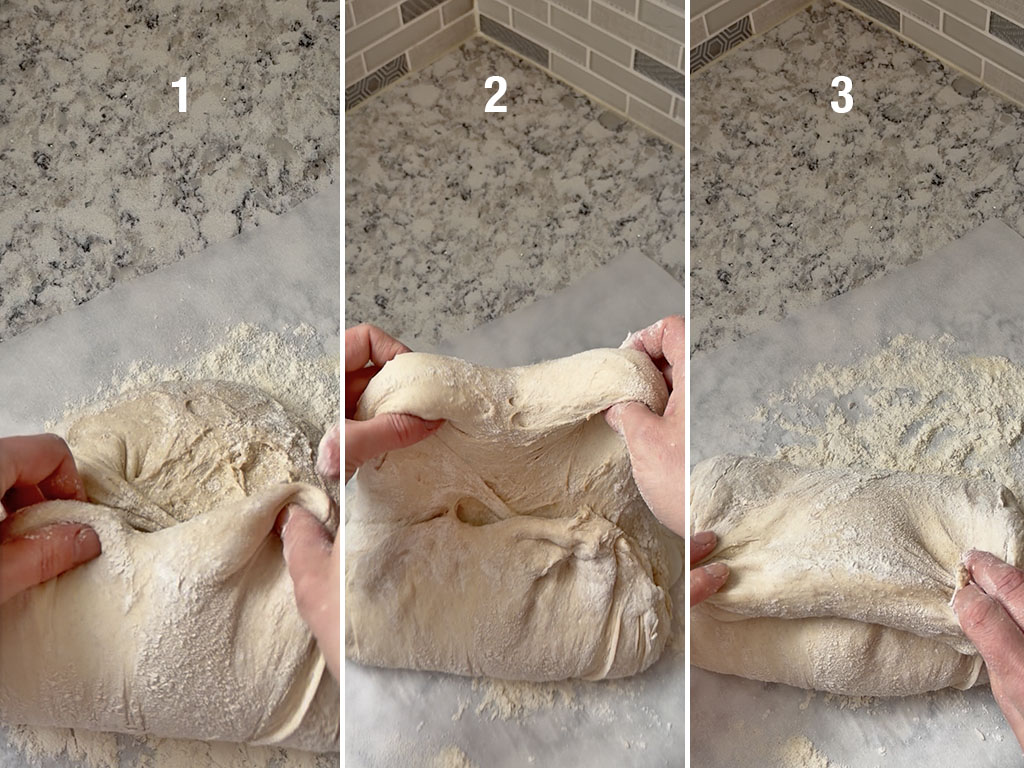
    Rotate the dough 90 degrees, then gently roll it into a log. Avoid pressing or deflating the dough.
    Dough rotated and gently rolled into a log shape on the counter, being handled lightly to avoid pressing or deflating it.


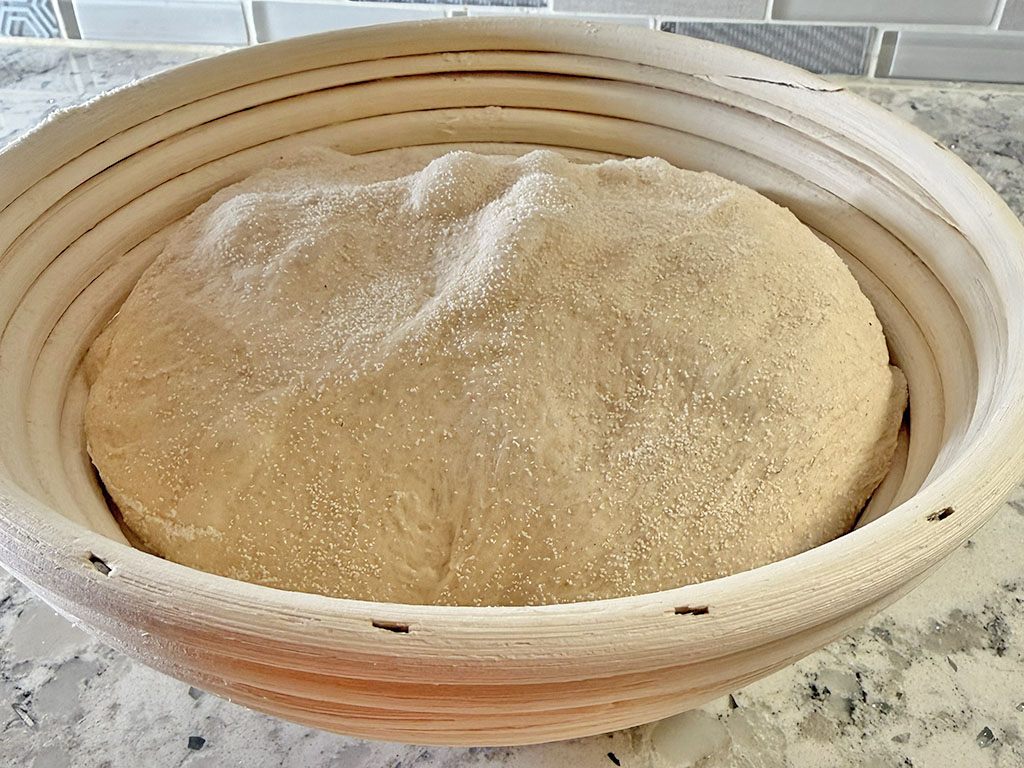
    Step 6: Banneton + overnight cold proof. 

    Dust your banneton with a 50/50 mix of semolina and flour (you can also use rice flour + flour, or just flour). Place the dough inside, cover with plastic wrap secured with a rubber band (or a shower cap or large plastic bag), and refrigerate overnight.


    Dough inside a floured banneton, ready for cold proofing.
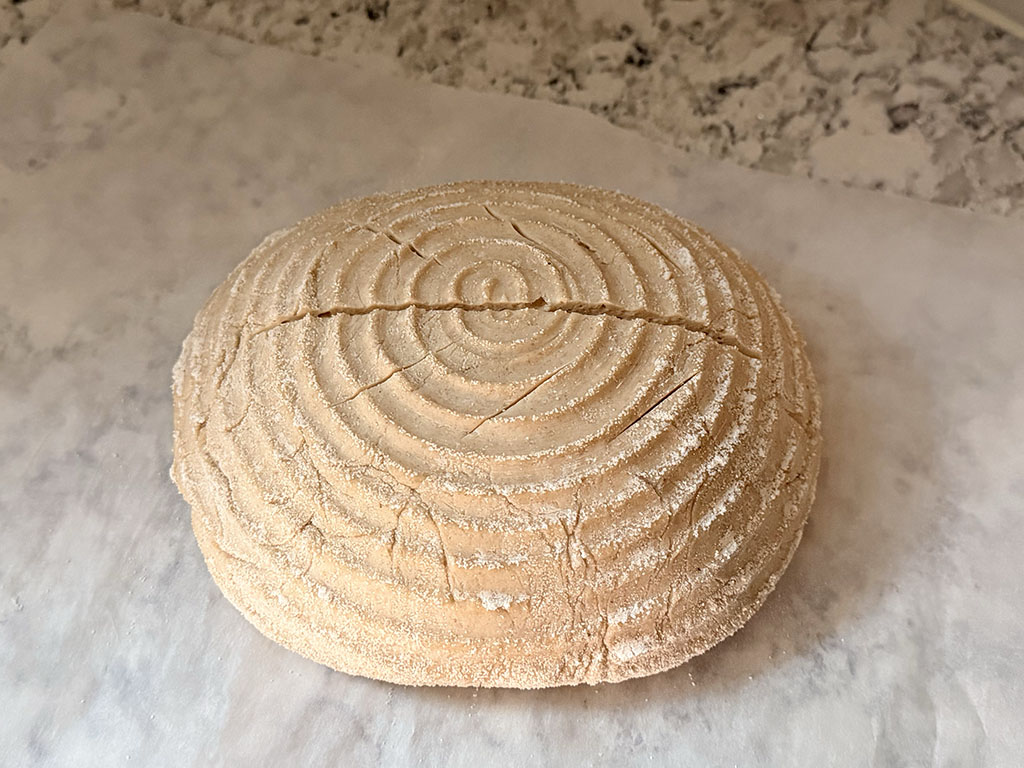
    Step 7: Bake sourdough bread.

    Preheat oven to 450°F (230°C). Turn the dough onto a piece of parchment paper. Score the top of the dough with a razor blade, bread lame, or very sharp knife, cutting about 1/4 inch (~0.6 cm) deep - a sharp blade makes a clean cut without dragging or deflating the dough. Add several small angled cuts along each side of that main cut.
    Dough turned onto parchment paper and scored with a deep center slash and small angled cuts along each side, ready for baking.
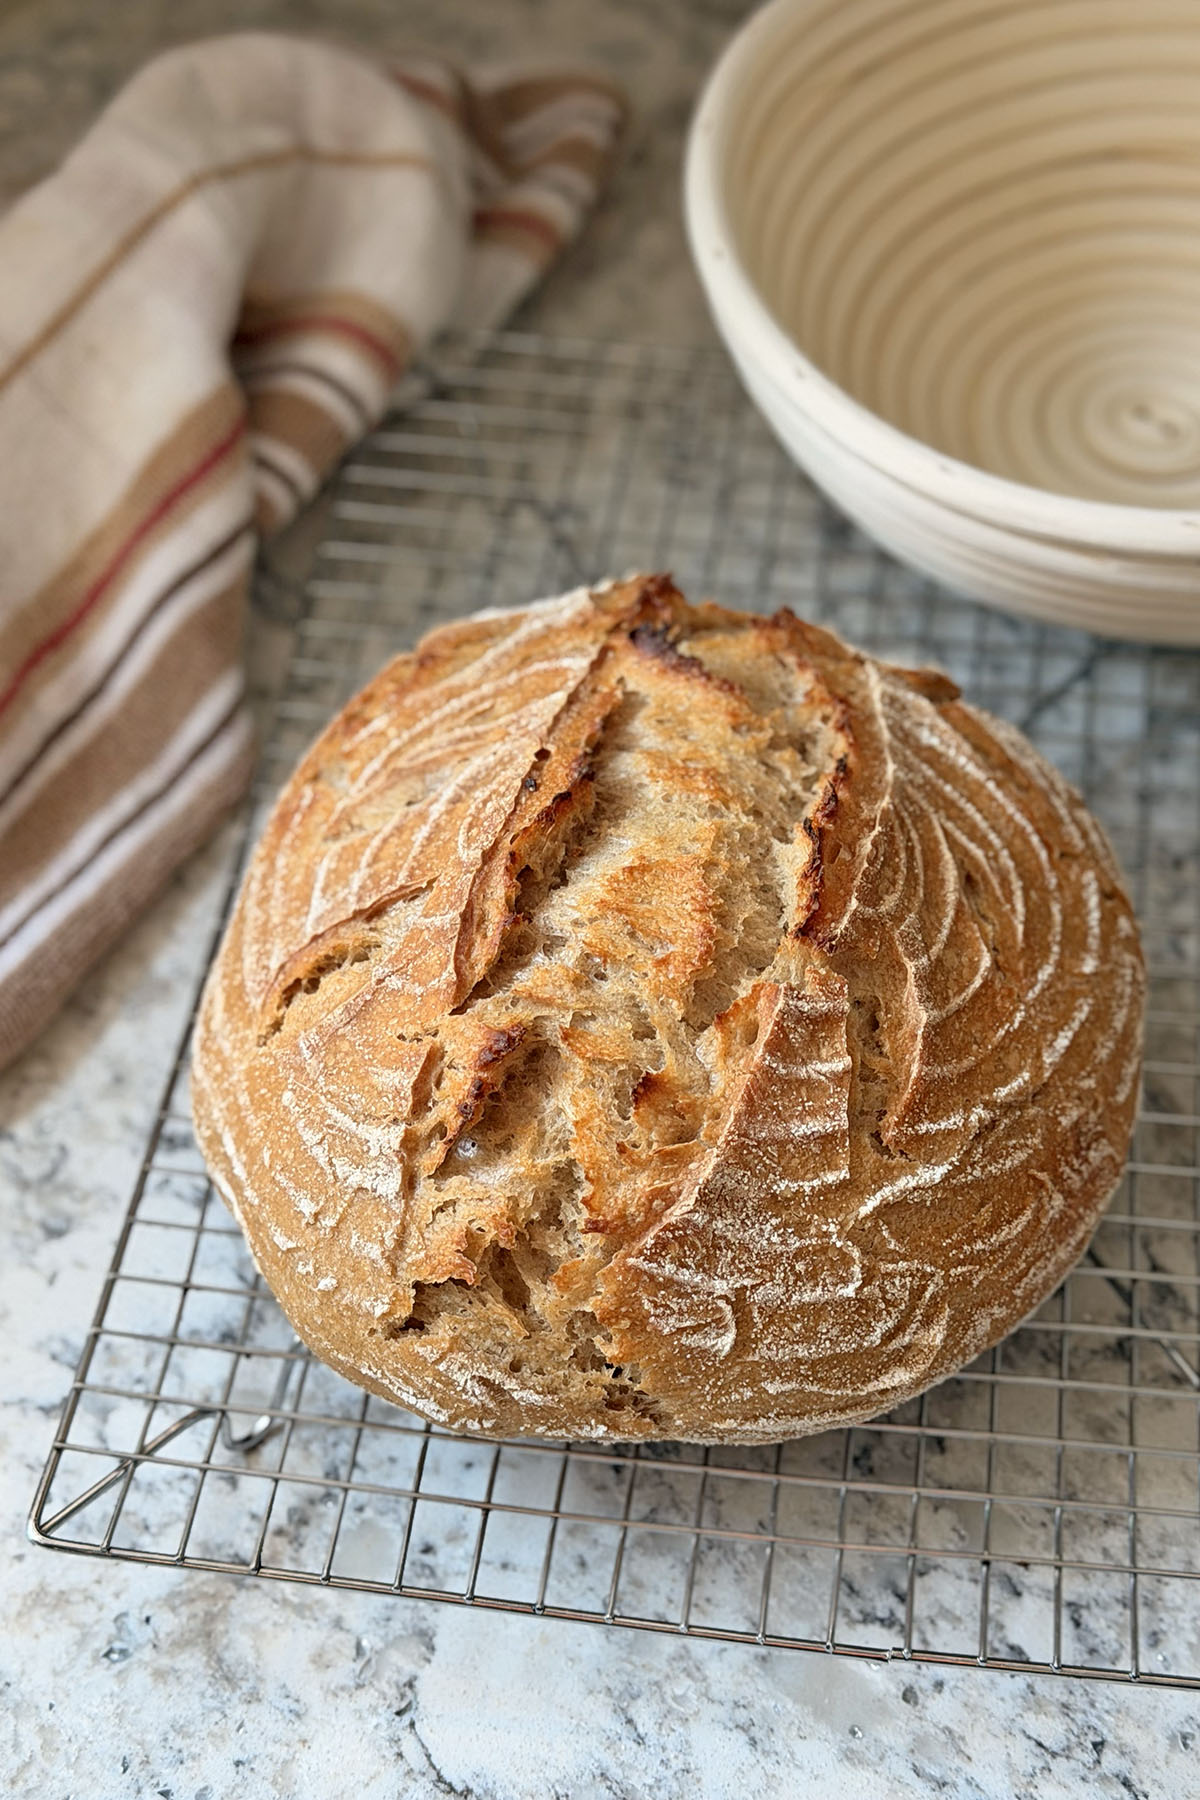
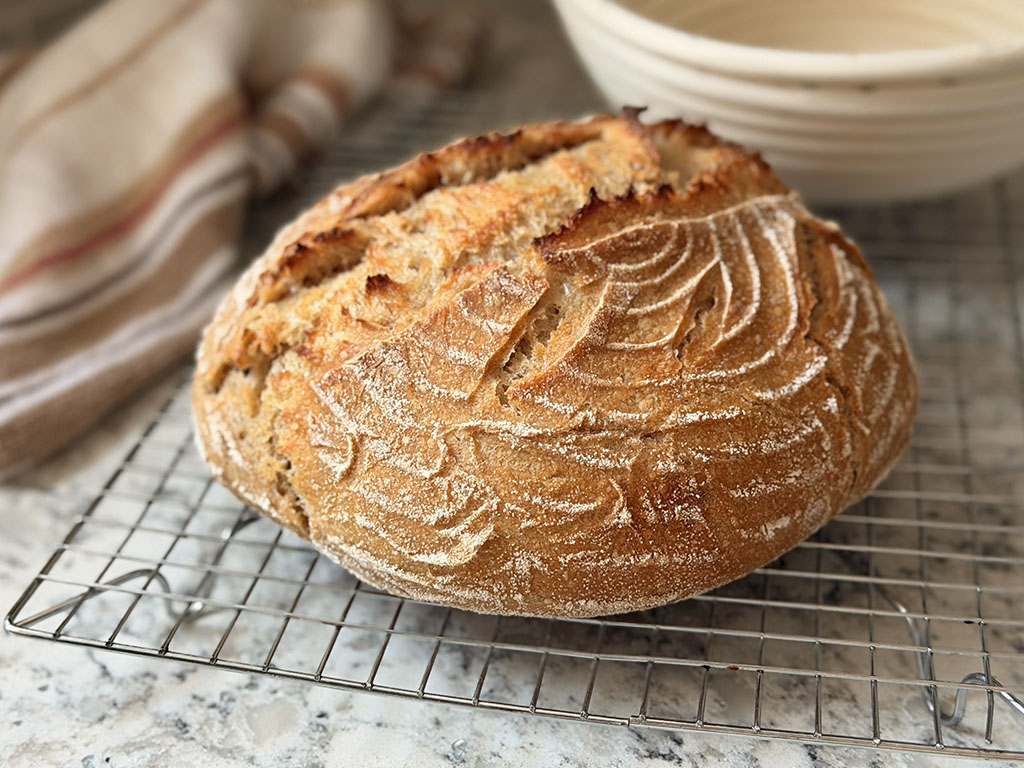
    Place the dough (with parchment) into a cast iron Dutch oven, cover with the lid, and bake for 40 minutes. Remove the lid and bake 8-10 minutes more until deep golden brown. Cool the finished loaf completely before slicing.
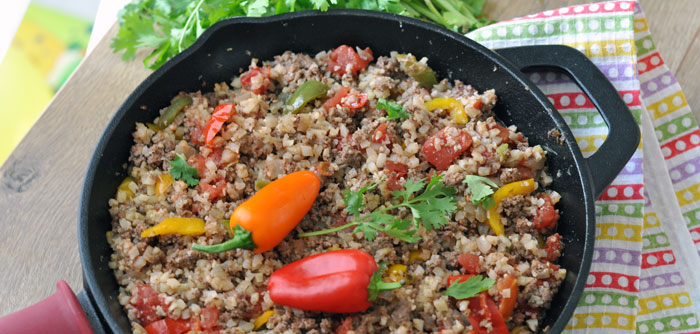
    Freshly baked sourdough loaf cooling on a wire rack after baking.

    Notes

    Approximate Timeline

    Starter activation: 8-12 hours 

    Mix + stretch & folds: about 2 1/2 hours 

    Bulk fermentation: 4-8 hours 

    Overnight cold proof: 8-14 hours 

    Bake time: about 1 hour

    For a good loaf, use a healthy, active starter kept in a warm spot (about 72–78°F / 22–26°C). Use it at peak rise, when it has at least doubled (often more), domed on top, and full of bubbles. Once it flattens or collapses, it loses strength and won’t give the same oven spring.

    For bulk fermentation, the temperature of your kitchen matters. The dough ferments best in a warm spot, so try to find a warm place in your home. For example, in winter I keep mine on the kitchen island near a heating vent to help the dough rise properly.

    A longer cold proof develops a deeper, more complex sour flavor, though I usually don’t go beyond 16 hrs.

    A hot Dutch oven can give slightly better oven spring, so you can heat it in the oven while it preheats.

    Note: This post may contain affiliate links for products I like. As an Amazon Associate I earn from qualifying purchases. This means that if you click on a link and make a purchase, I'll earn some coffee money at no cost to you, which I promise to drink while creating more helpful recipes like this ;) Thank you for supporting My Delicious Meals!

    About Alena

    Welcome to my website!

    I’m Alena, the blogger at MyDeliciousMeals since 2010. My goal with MyDeliciousMeals is for you to discover the joy of cooking and to find lots of new favorite recipes that your family will enjoy. I’m so happy you stopped by!

    Comments

    Add Comment

    Trending Recipes

    Canned Salmon Patties
    Beef Chebureki (Deep Fried Beef Dumplings)
    Easy Chicken Breast Recipe with Sage and Thyme
    Lemon Chicken and Potatoes in Oven
    Easy Homemade Mango Salsa
    Tuna Steaks with Lemon-Parsley Butter

    Instagram

    Top